
Written by Garrett Sammons
My name is Garrett Sammons, a commercial director and cinematographer. In this next blog post, I will walk you through how to light for green screen and create a Hollywood-quality title sequence using compositing techniques.
Lighting is the most important factor to make high-quality film with green screen. So, in this post, we will examine how to create an HBO-style opening sequence for a fictitious show using green screen and compositing techniques. We will dive into how to light for final environments, separating foregrounds from the CYC wall, and the basics of compositing green screen elements. Let’s get into it!
Final Title Sequence
When would you use green screen?
Green screen is a great tool to achieve an effect that would otherwise exceed your budget, set design, timeline, or other resources. Rather than needing to go out and film in a crazy environment or film a cool effect, you can add those things digitally in post instead. Green screen is also great for adding text to a shot or for achieving a double exposure or double composite.
Universal concepts for lighting green screen
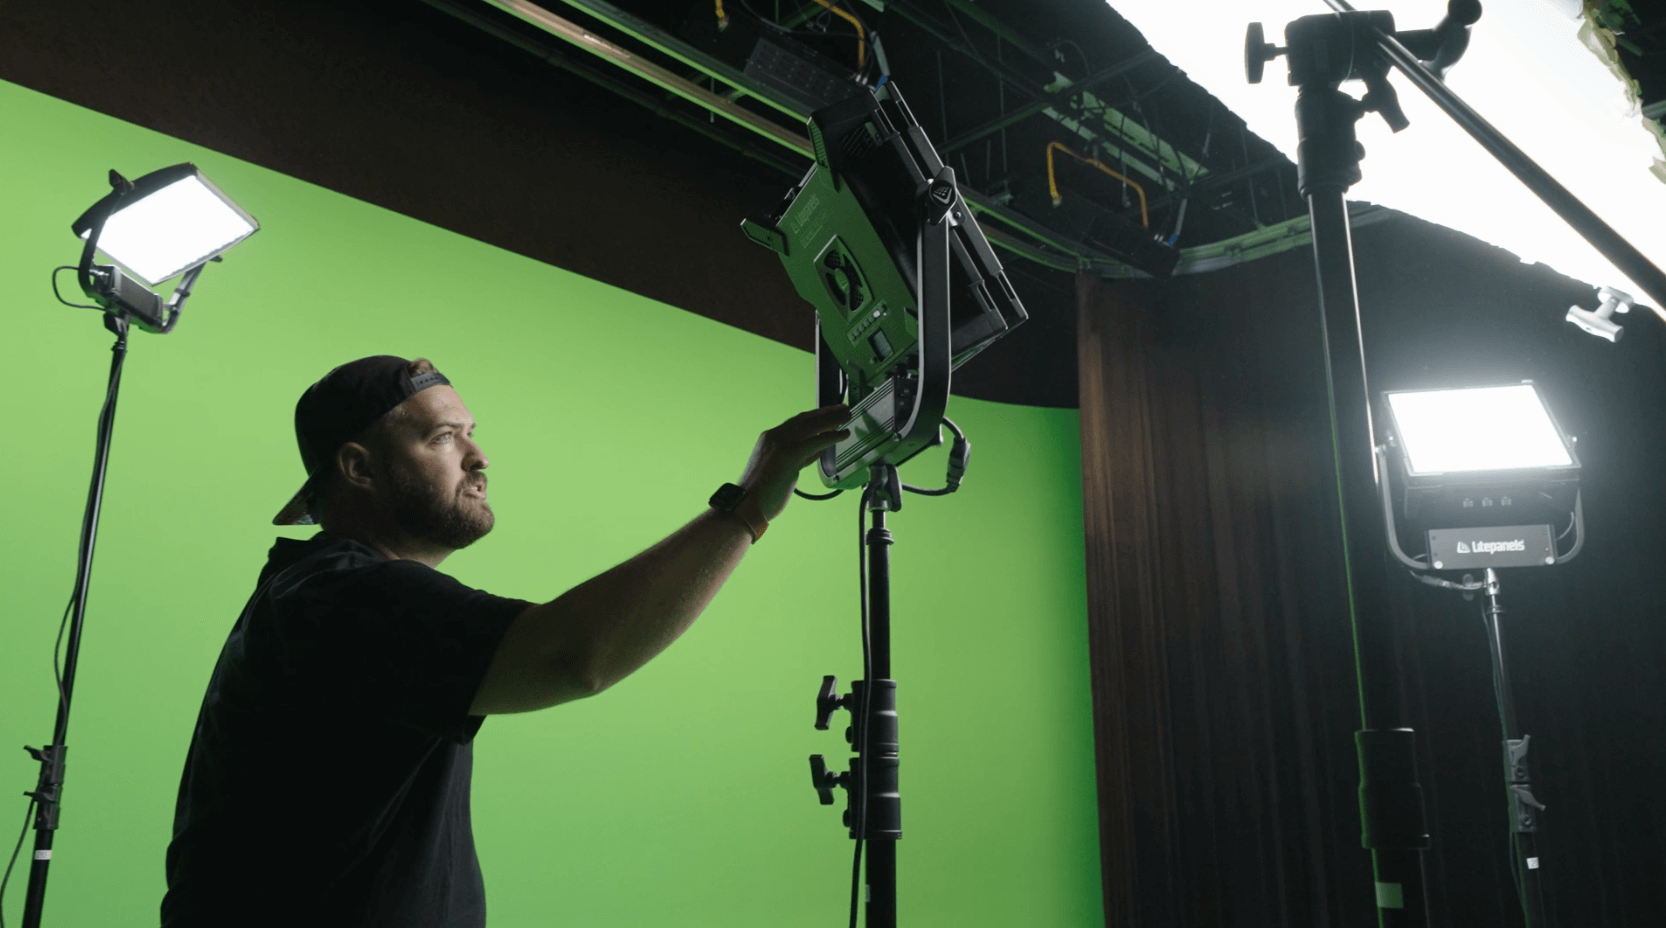
There are a few basic lighting concepts to remember whenever you are lighting green screen, regardless of how you use it. When lighting for green screen, the first basic rule is to make sure you have even lighting across the entire screen. You need the background to be as evenly lit as possible. This ensures the chroma key is as even as possible and there is no unwanted shadows or light spill.
If you don’t properly expose for that background, the grain can be too hot and bleed into some of the skin tones or it can be too dark and bleed into the shadows. Failure to evenly light your background will make pulling the keys in the composites more difficult in post. So, first and foremost, make sure you have even lighting on the background environment and the camera is properly exposed to that lighting.

To achieve even lighting, you can use bright, large spread lights like the ones I used for this project. These lights also have adjustable settings that help you achieve certain effects with a green screen.
Furthermore, you’ll want to pull your subject as far away from the green screen as possible while still maintaining the shot you are aiming for. This can also help reduce any green screen spill and create a better sense of separation between the subject and the background.
Lastly, the light spread will be affected by how close or far the light sources are from the green screen. Remember, it isn’t just about having a bright light, but it is also about having a very evenly spread light. Pulling lights further from the green screen will create a larger spread and therefore a more even key. Alternatively, the closer the lights are to your green screen, the more focused the beam angle will be and therefore the more uneven it will be lit.
Remember these basic principles as we dive into the scenes from the intro sequence below.
Simulating a fire with a green screen
Let’s look at this first scene. Here, we had two people standing in front of a green screen in the studio and we added the bonfire effect in post.
We did this by lighting the talent with two Gemini 1×1 Hards set up opposite them, known as reverse key. One camera is set to be very bright, and another is set to the built-in fire feature. This gives a lot of bright, hard light that would exist if they were truly standing in front of a fire.

In this set up, we also placed two black, negative fill blankets on the ground to prevent any green from spilling up onto our talent. The blankets also helped suck some of the light off of the talent to help give us the end silhouette look we wanted.
Our intro sequence was shot in a green screen studio to make this easier for us, but if you’re using a pop-up green screen or muslin, you’ll need to worry more about lighting the background evenly and eliminating any wrinkles or shadows. To do this, I would place two Gemini 1×1 Hards on 45-degree opposing angles to help offset some of those wrinkles.
Here’s a look at the final result.
Simulating an underwater shot with a green screen
For an underwater shot, you have singular directional light coming from the top-down (sunlight or moonlight) into a large void (a body of water). The light should not be spilling or bouncing anywhere, but the top-down light mustn’t look like a spotlight either.
Of course, a believable underwater shot depends a lot on the behavior of the talent. However, here’s how we would light it.
We placed two flags or negative fills on the sides to eliminate light spilling. Then, we set up a Gemini 1×1 Hard above the talent with a softbox or the DoPchoice Snapbag. We also put an egg crate or grid on that to keep the light very directional and to change the spread without changing its behavior. Finally, we placed a Quasar Science Double Rainbow LED tube fixture across from the camera to give the edge light behind the talent a very wide spread, as it naturally would be. It was set just bright enough to separate the foreground from the background.

Lighting for Double Exposure
Next, we created a double exposure for our intro sequence. Double exposure is a different type of application for green screen. Here, you will need to create a matte or alpha matte to determine where your background element will bleed through and where it’s not.
The benefit of shooting a double exposure with green screen is that is helps you bypass a lot of the work in post because it will have this alpha matte built-in.
For our scene, we filmed one subject at a table. For lighting, we used our Gemini 1×1 Hard with a grid and snap bag on it, plus a makeshift cutter or a floppy to act as a negative fill. We used an Astra 6X as our background light. Setting this to be a hard light to create a lot of contrast.
For this effect, creating strong contrast is the most important thing. Having a lot of really strong contrast can be especially important if you are creating a composite featuring a complex subject, such as hair or hands on a person. The high contrast will help you capture all of those small details and create a clean composite like this.
For our double exposure shot where our subject was wearing a hat, we had to modify this approach just a bit to avoid any harsh shadows from the hat. Here, we added a 4×8 bounce overhead and blasted our two Gemini 1×1 Hard lights up into the bounce. That created a very large, soft light source. We also placed our Astra 6X overhead as our edge light in the background. This helped us avoid any shadows from the hat on the subject.

In general, the larger your light source surface area in relation to the subject, the softer than light will be. Using a bounce like this is a great way to increase the surface area and therefore get a softer effect out of a small light.
Watch the behind the scenes setup and final shot below.
Key takeaways for lighting a green screen
You should invest in the brightest, most accurate lights your budget allows. Bright lights will give you the best control over lighting your green screen.
So, having bright lights is extremely important. However, light evenness is also one of the most important factors when lighting for a green screen. You will need to create a very even light spread across the green screen to create an even key to create a crisp effect and reduce the work necessary in post.
Remember, the simplest way to get an even light spread and therefore an even key is to pull the lights away from the green screen. The closer the lights are to the green screen, the more focused the beam angle will be and the more uneven the light spread will be. Pulling both the lights and the subject away from the green screen surface will reduce green screen spill and create the most even lighting.
Lastly, to get a crisp effect and reduce the work needed in post, you need to avoid spill from the lights or green screen onto the subject. To prevent spill, you can set up flags between your light and your subject or between the subject and the camera.
If you follow these tips for lighting for green screen, then your foreground work and background work should flow together seamlessly and be believable. When you watch the final sequence, it should all blend so the viewer is unaware of the green screen or compositing.
Watch the livestream
As part of our “Professional Lighting Techniques” series, Garrett was joined by filmmakers from across the world to discuss how best to light for green screen. This blog is a summary of that episode, but you can watch the full video below.